- You will require a Firebase account for Android & an Apple developer account for iOS
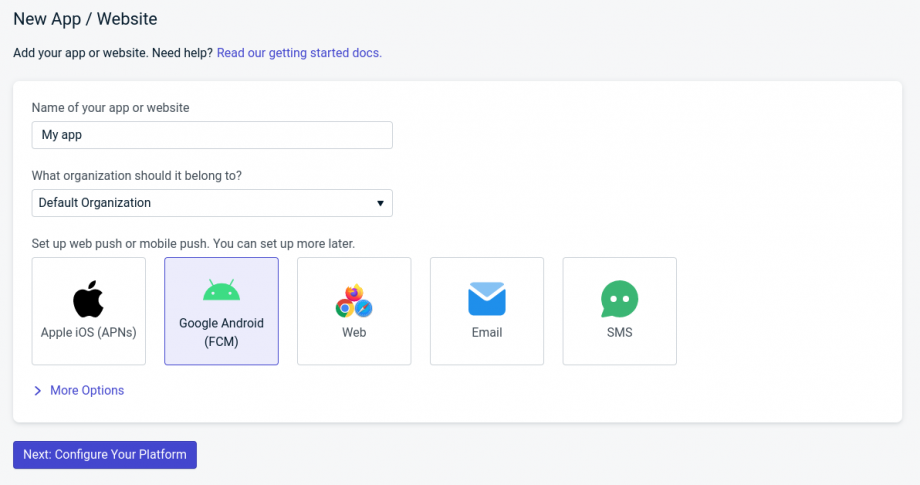
Add a new app to your onesignal account, give it the same name as your application in Gappsy
Select Android to start
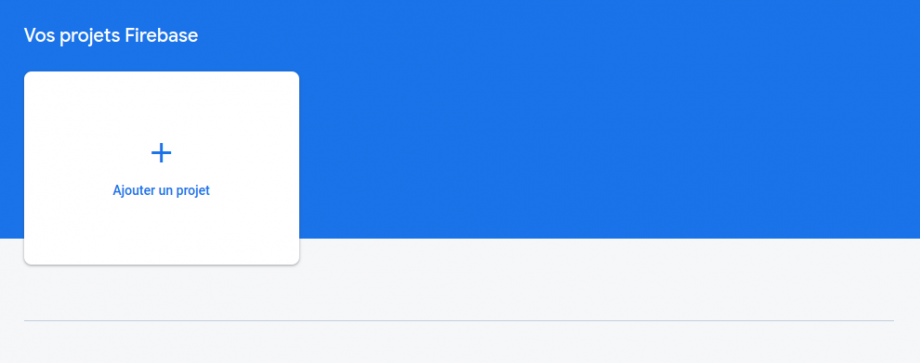
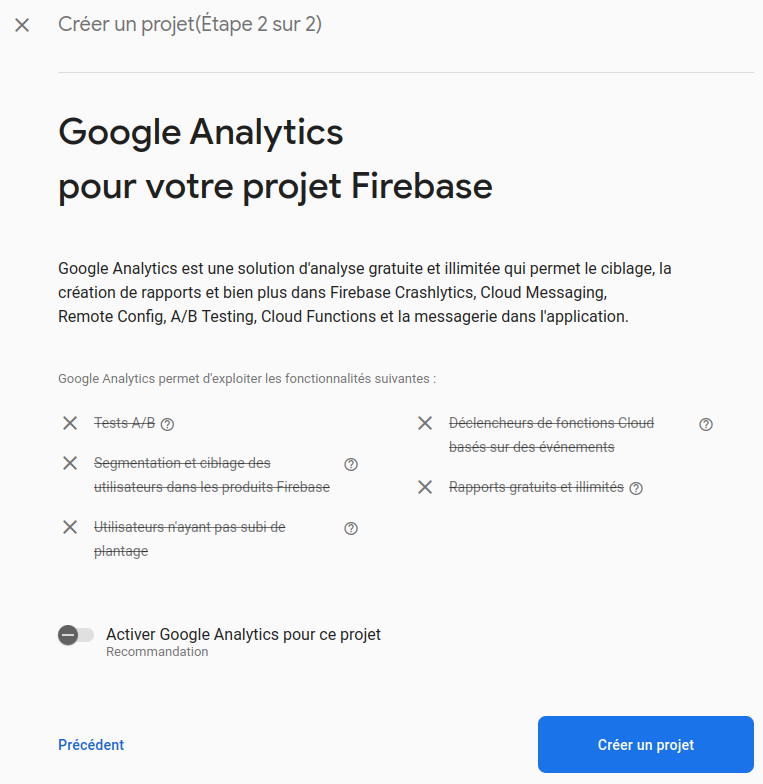
Now go to your Firebase console and if not done yet, create a new application
Or follow the onesignal documentation
https://documentation.onesignal.com/docs/generate-a-google-server-api-key
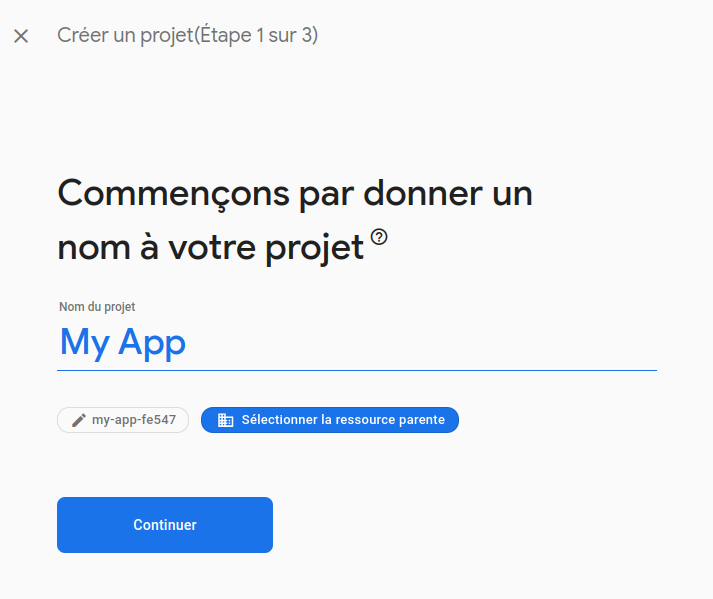
Disable the Google Analytics for now, you’ll be able to configure it later if you want to use it.
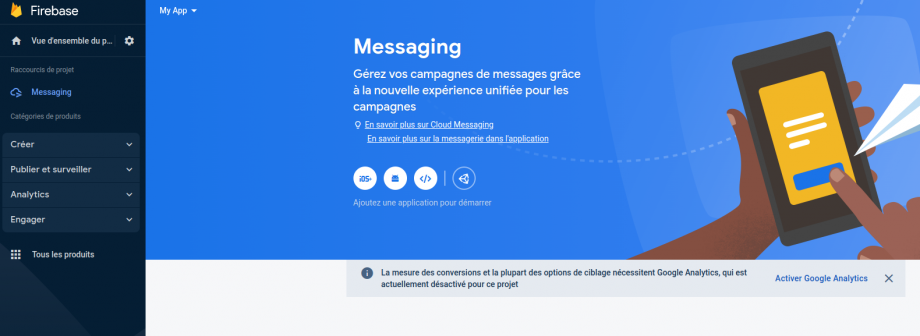
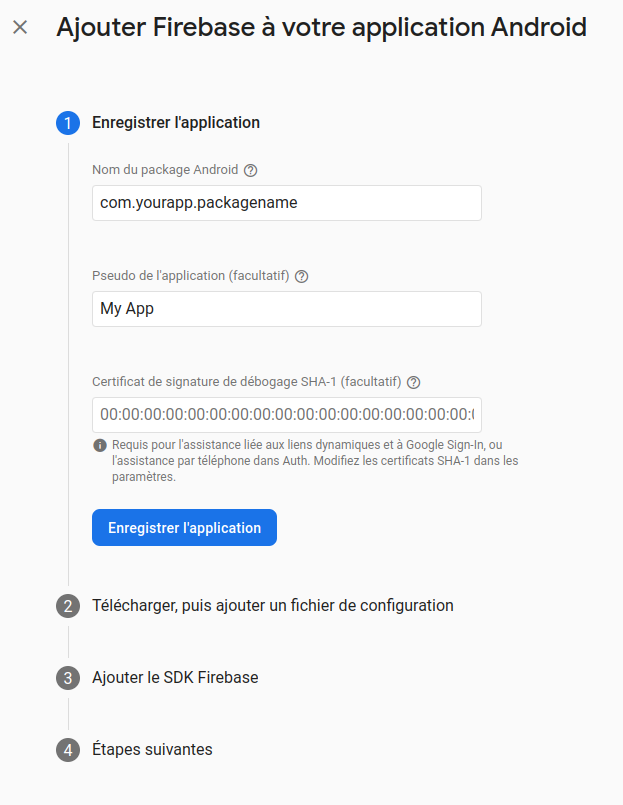
Configure a new Android app, click on the rounded android icon in the middle of the page
Paste your application package name from Gappsy, and your app name, then next/skip all other steps
Go back to your firebase console homepage, then click on the gear on the top left of the page,
then open the Cloud messaging tab

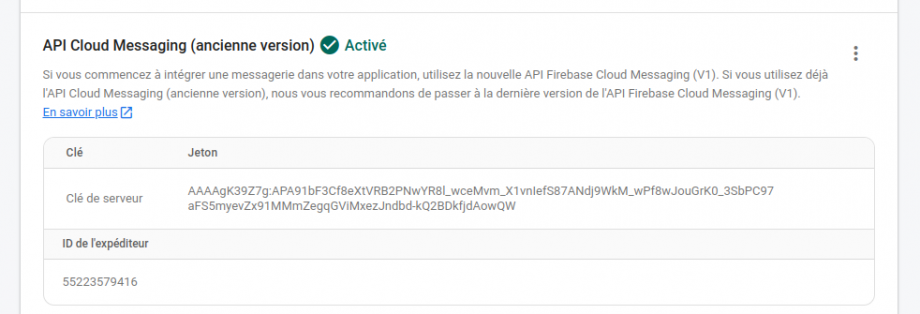
Click on the three dots beside API Cloud Messaging (old version) then activate the API
Go back to this page and reload, now you have access to both a server key and a sender id
Now that your application is created & configured, you can paste your keys in OneSignal
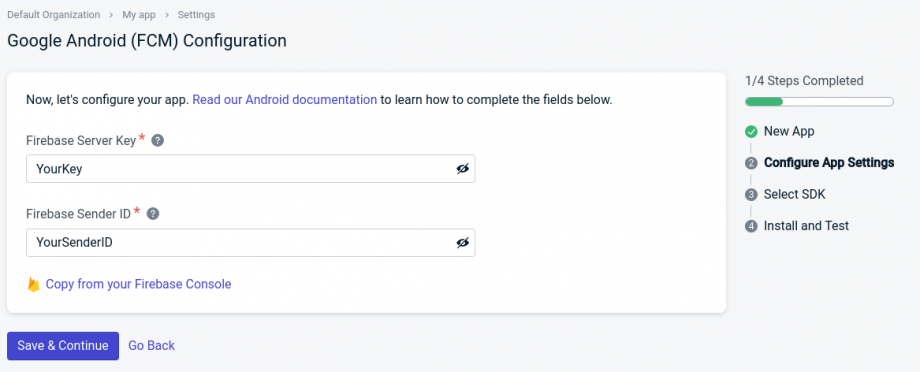
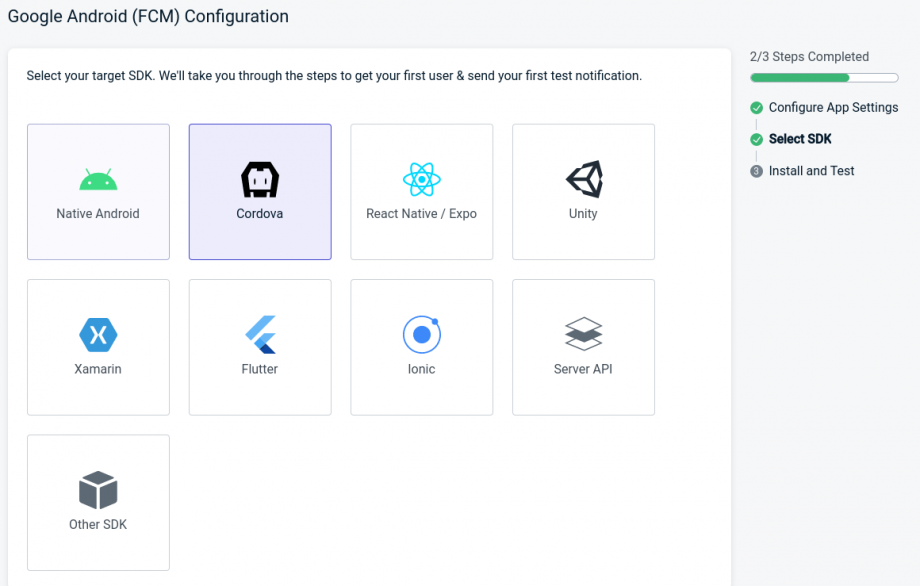
Save and continue, then select Cordova as the SDK, continue
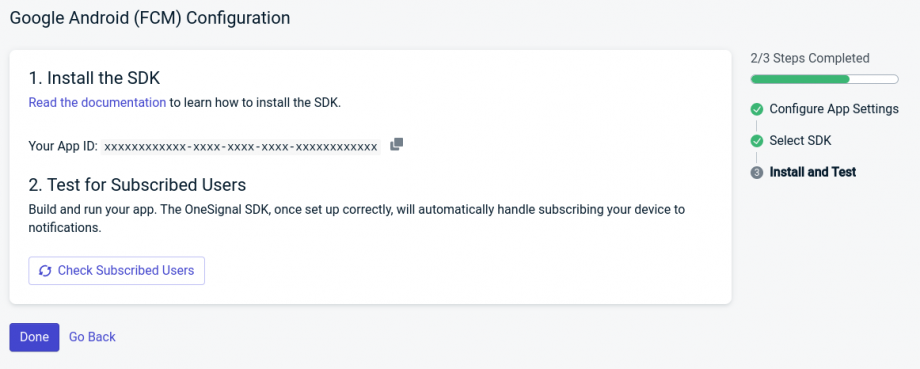
Now just click done!
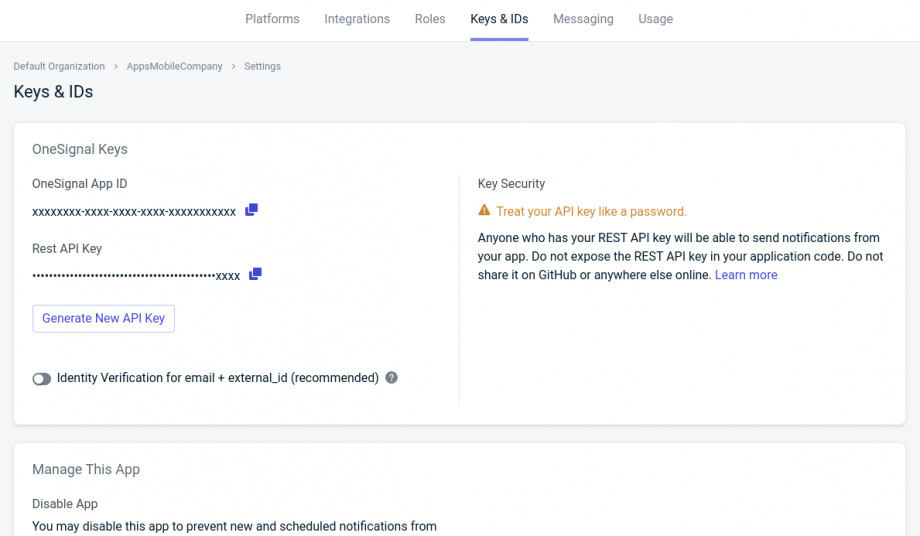
Now you can navigate to the page Keys & IDs that’s the keys you will have to copy inside Gappsy.
While you have configured only Android for now, these keys will work for both Android & iOS
However, you will still have to do some steps to configure iOS
Go to the Settings > Api page of your Gappsy application
Then paste your app id and key

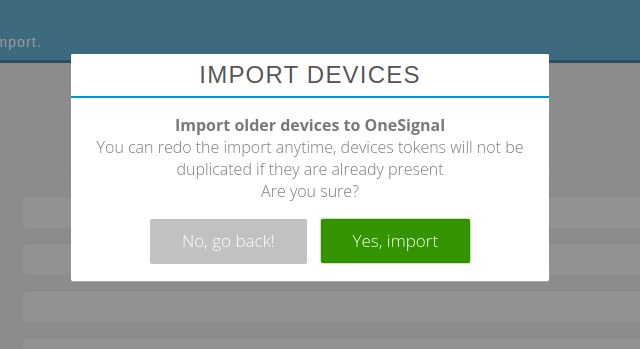
After what you will be able to import older devices
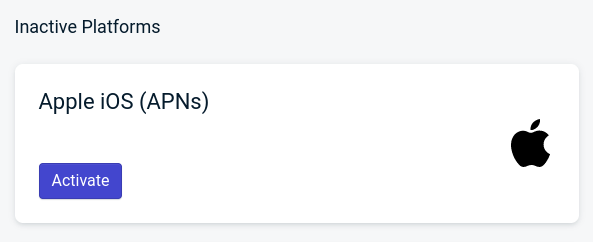
Configuring iOS
Go to the platforms page & add Apple iOS
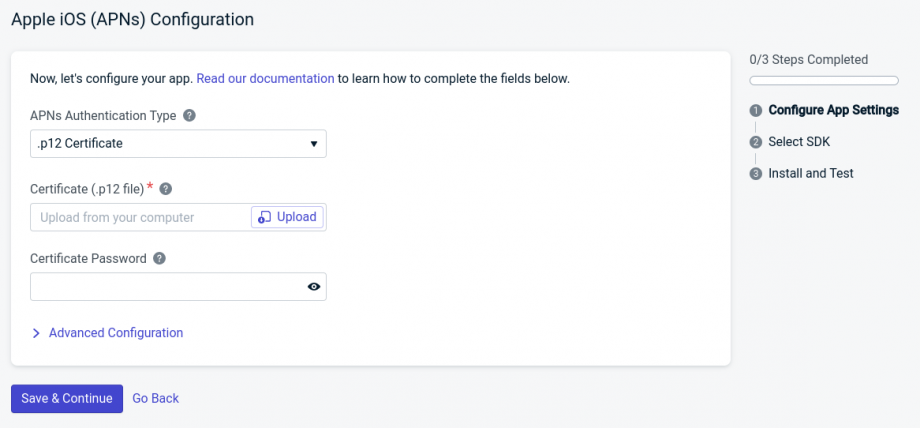
For more in depth and help to create a p12 key, please check the onesignal documenation below
https://documentation.onesignal.com/docs/generate-an-ios-push-certificate
Upload your key, then save & continue
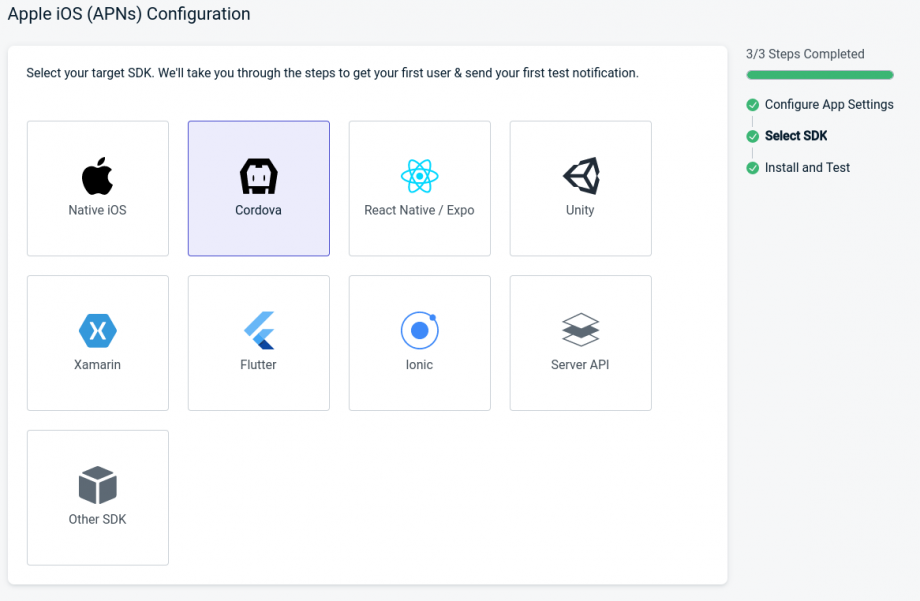
Same as for Android, slect the cordova SDK, then next, you’re done!
Sending a push
To send a new push, first add the push v2 feature to your application
Then fill a Title & Message, you can also schedule your application in the future
Note: The scheduling is timezone friendly, the message will be sent at the given time, depending on the user timezone, default delivery time of day if left blank is 9:00 AM
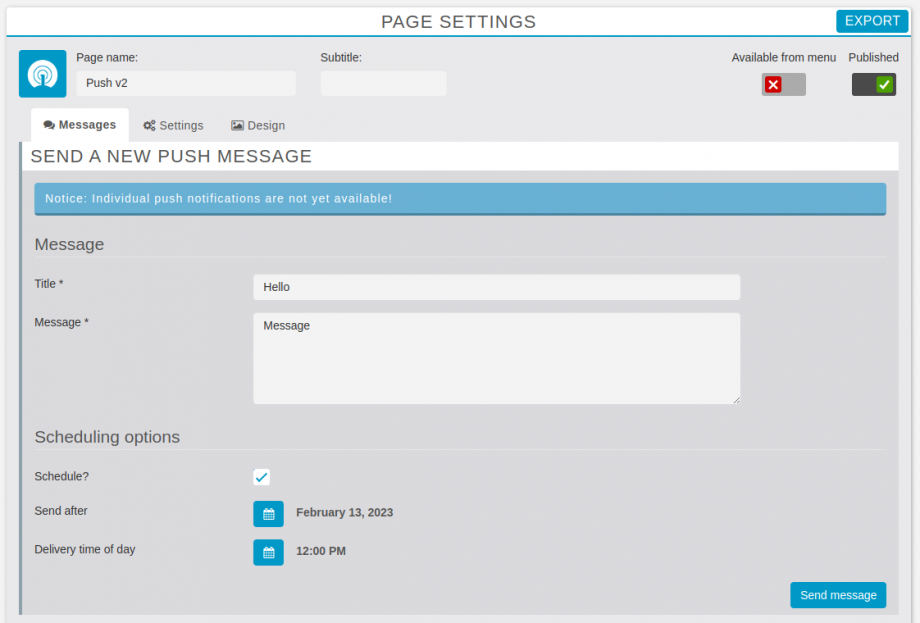
Hit Send message
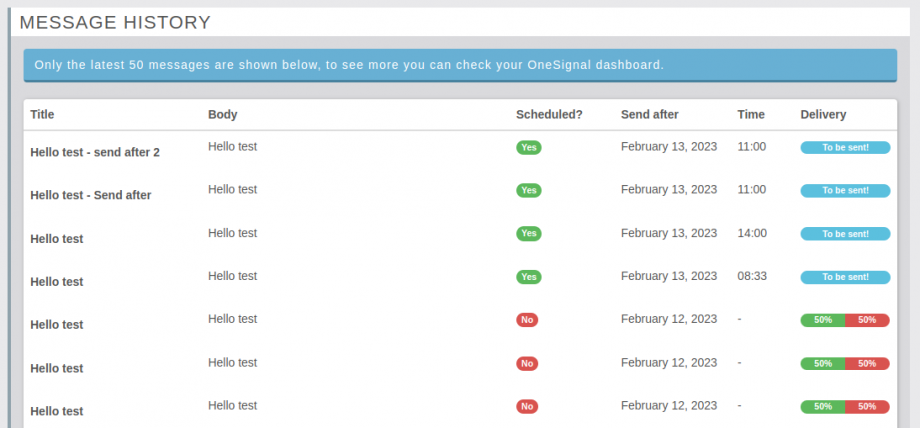
The message history will be shown below, it can take a few seconds to display the correct Delivery status & rate (just reload the page)